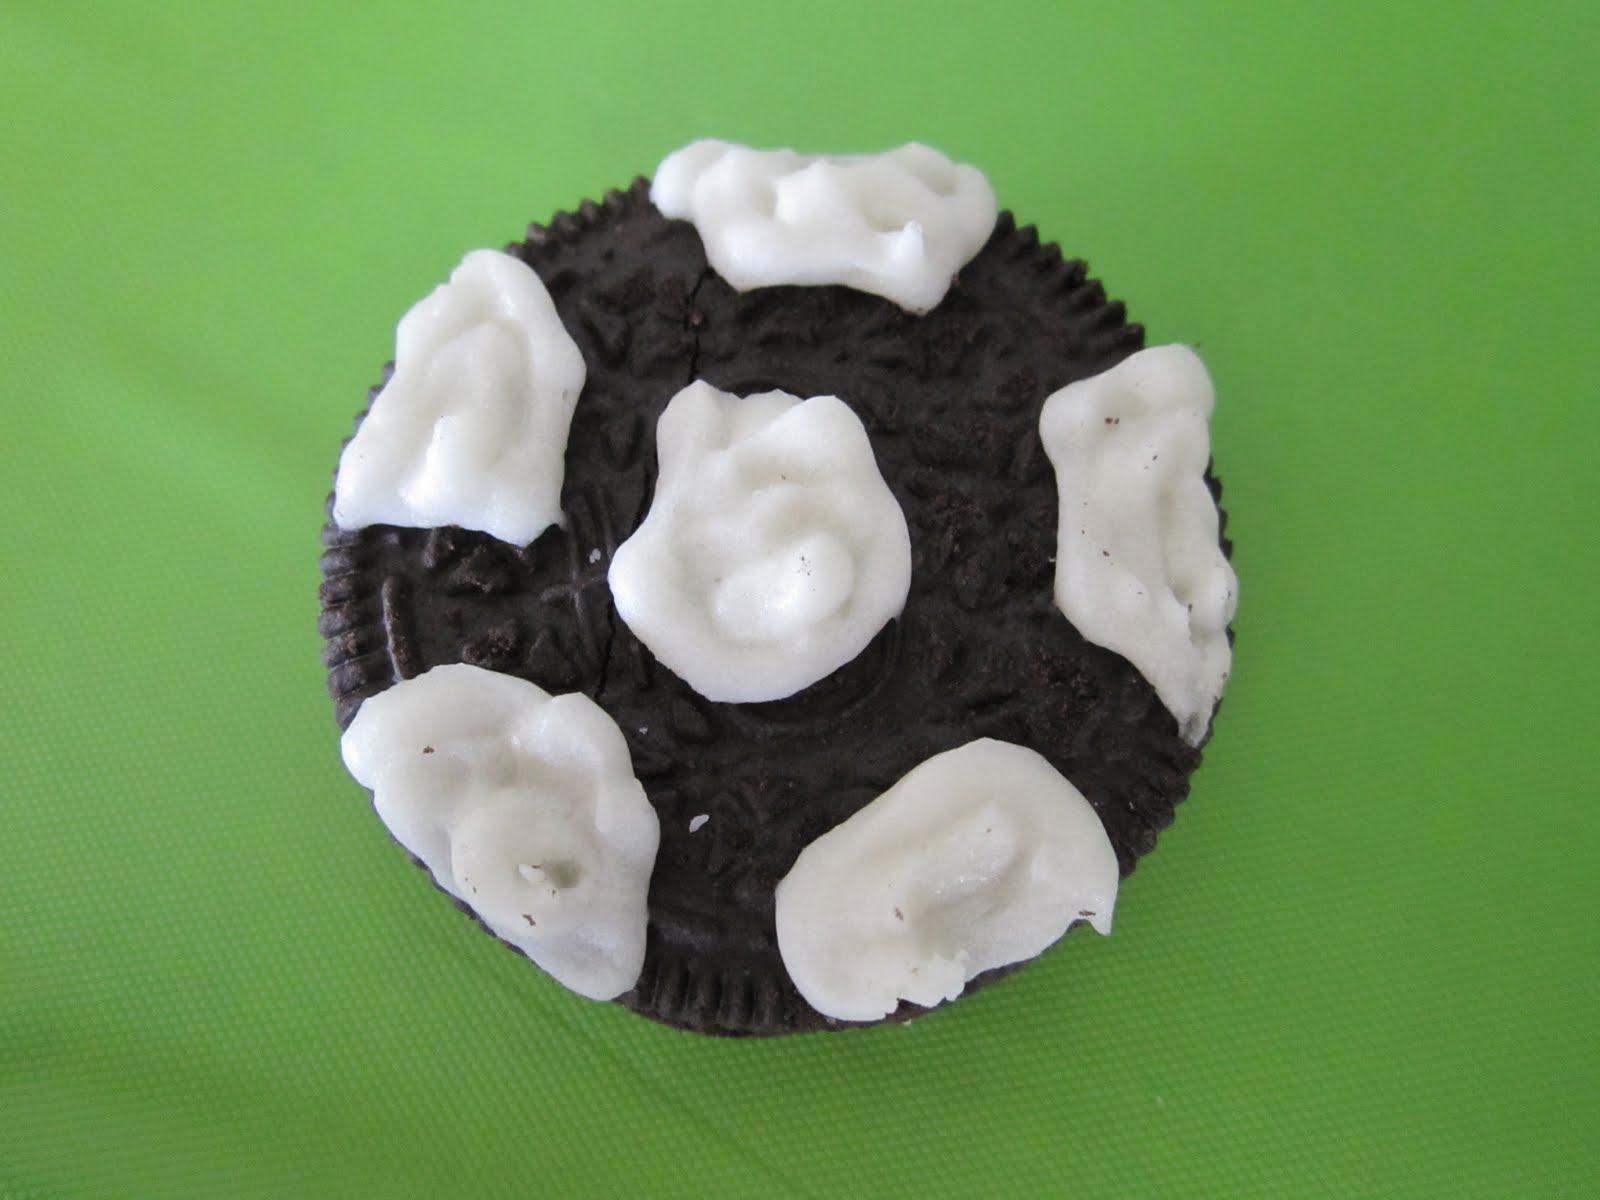
Here's what the finished product will look like:

First start by cutting out your pieces of grass, poles, clothes, and basket.
The basket has a really cute weave to it. I loved the idea on couple other pages and I wasn't sure how to implement it but just tried and it ended up being super easy, just a little time consuming.
Cut out two tan basket rectangles. Then cut them into strips. One box you will cut into 8 horizontal strips, while the other box you will cut into 7 vertical strips.

Then all you do is start weaving.

Now, when I finished weaving it, I found that I ended up leaving out 1 horizontal and 1 vertical strip. Also, the last horizontal strip on the top of the basket, I just laid completely on the top, to give it that clean edge on top. Now the tricky part is to sew it. As you can see, I flipped it over, so I could make sure to get all those edges sewn on to the top strip. You can adjust and nudge the strips as you go.

Here is what it looks like once it's all sewn:

Just trim off all the edges to give it a nice clean look and here you go:

What a cute little basket to collect apples in :-)
Then attached a snap on both the basket and the lid, making sure there's enough room on the lid to sew onto the background of the page.


Next, you'll be getting the poles and string ready. I used embroidery thread because that's the only thing I could get to fit through the metal holes on my mini clothespins. I just eyeballed and left a little extra.

Placed the poles where I wanted them. Spaced out each string, so I knew where it needed to be placed and then I just lifted up the pole and sewed A LOT over the string. I knew this page would have a lot of tugging and pulling, so better to secure it now then to try to fix it later.

After I did one side I attached the four mini clothespins onto the line. Making sure to go through the metal loop on them. That way they can't get lost from the book!! Amazingly awesome!

So, here's what you have.

Then just sew the other side of the string under where the pole will set. Going over quite a few times. Snip the extra string off and repeat for the second string. Then sew down the poles for your drying rack.

Next, you need to place the flowers on your grass. I just used my scrapbook flowers I had around. I don't know the longevity of these flowers, but you could also use buttons too. Attach those, then sew on the grass hill.

Add your basket by sewing right on the same line as before. Then snap the lid on and sew over the top of the lid.


Cut out a bunch of clothes for your little one to play with. I made more than enough. My favorite is the little pair of underwear :)
Then had the page over and let your little one at it! Kara loves this page, but I need to mount it to the book for it to be easier for her. The clothespins are a bit heavy without a thick page behind it. But all the same.....she had a BLAST!